
Is your garage door not closing all the way, stopping short, or suddenly reversing for no apparent reason? A Chamberlain opener with these issues often just needs a quick adjustment of its travel and force settings.
Learning how to adjust a Chamberlain garage door opener can restore smooth, reliable operation in just a few minutes. This guide will show you the exact steps, starting with a balance test and then fine-tuning the opener, while also explaining when it is best to call a professional for help.
- How do you test the balance on a Chamberlain garage door?
- How do you adjust a Chamberlain garage door opener? (3 Steps)
- Step 1: Identify Your Opener Type
- Step 2: How to Adjust Chamberlain Garage Door Travel and Force
- For Modern Openers (Type A: Arrow Buttons)
- For Modern Openers (Type B: Black & Purple/Yellow Buttons)
- For Older Models (With Screws)
- Step 3: Mandatory Safety Tests
- A. The 2x4 Safety Reversal Test
- B. The Photo-Eye Sensor Test
- When should you call a professional for Chamberlain opener repair?
- Ensure a Safe and Smooth Operation for Your Chamberlain Opener
- Frequently Asked Questions
- How do I reset my Chamberlain garage door opener limits?
- Why does my Chamberlain garage door keep reversing?
- For Modern Openers (Type A: Arrow Buttons)
- For Modern Openers (Type B: Black & Purple/Yellow Buttons)
- For Older Models (With Screws)
- How do you adjust the sensitivity on a Chamberlain garage door opener?
- A. The 2x4 Safety Reversal Test
- B. The Photo-Eye Sensor Test
- What do the arrows on a Chamberlain garage door opener mean?
- What does the blinking light on my Chamberlain opener mean?

How do you test the balance on a Chamberlain garage door?
Before adjusting the opener, test your garage door's balance. This ensures the problem isn't with the springs, which require professional repair. Here's how to do it:
- With the garage door fully closed, pull the red emergency release cord to disconnect the opener.
- Carefully lift the door by hand until it's about waist-height.
- Gently let go of the door.
A properly balanced door will stay in place or move only slightly. If the door quickly closes or swings open, stop—the springs are faulty and require professional repair.
How do you adjust a Chamberlain garage door opener? (3 Steps)
The process is broken down into three main stages: identifying your specific model, adjusting the travel and force settings, and performing the final safety checks. Follow these steps carefully for a safe and effective adjustment.
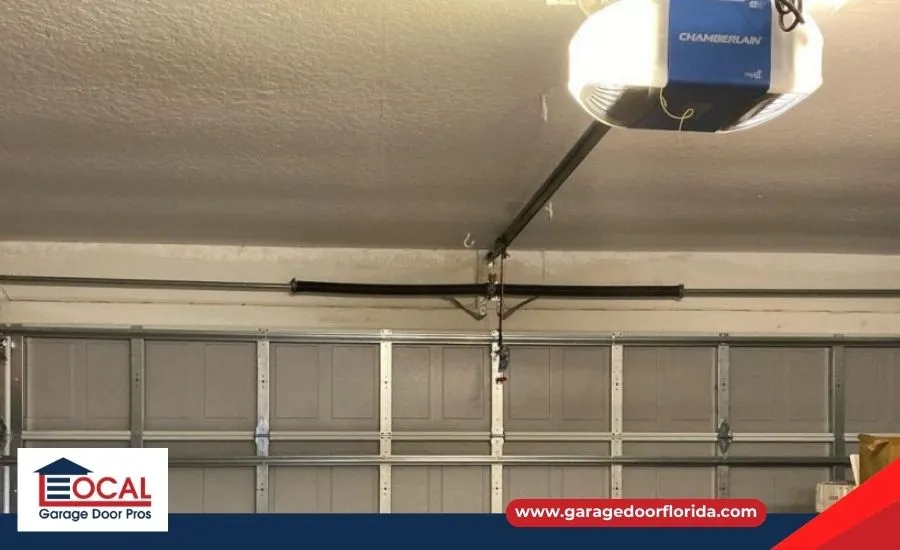
Step 1: Identify Your Opener Type
The correct adjustment method depends on your model. Check the motor unit to locate the adjustment controls and identify your opener type.
| Control Type | Key Visual Cues | Adjustment Method |
| Modern (Type A) | A black Adjustment Button between Up and Down Arrows. | Electronic Programming (Integrated) |
| Modern (Type B) | Separate black and purple or yellow programming buttons (the learn button). | Electronic Programming (Separate Steps) |
| Older Models | Two plastic adjustment screws for a flathead screwdriver. | Manual Screw Adjustment |
Step 2: How to Adjust Chamberlain Garage Door Travel and Force
Once you know your model, you can perform the Chamberlain garage door travel adjustment and set the force correctly. Follow these steps:
For Modern Openers (Type A: Arrow Buttons)
On these units, you program the travel limit and force in one simple sequence. Press and hold the square Adjustment Button to enter programming mode, then use the arrows to set the new up and down limits.
- Press and hold the Adjustment Button until the UP Arrow begins to flash.
- Press and hold the UP Arrow until the door reaches the desired open position.
- Press and release the Adjustment Button. The DOWN Arrow will now flash.
- Press and hold the DOWN Arrow until the door is fully closed.
- Press and release the Adjustment Button to save the closed position.
The opener light will blink, and the door will automatically run one full cycle to learn the correct force setting. Do not interrupt this process, or the settings may not save correctly.
For Modern Openers (Type B: Black & Purple/Yellow Buttons)
For this type, you program the travel and force in two separate stages. Use the black button to program the travel limits and the purple/yellow button to enter the force adjustment mode. To Set Travel:
- Press and hold the black button to enter programming mode.
- Use the buttons to move the door to the desired open (up) position.
- Press your remote control to save the setting. The door will begin to close.
- Press any button on the opener to stop the door.
- Use the purple/yellow button to move the door to the fully closed (down limit) position.
- Press your remote to save the closed position. The travel programming is now complete.
To Adjust Chamberlain Garage Door Force:
- Push the purple/yellow button twice to enter Force Adjustment Mode.
- Use your remote to run the door through one full cycle (fully closed, then fully open). The logic board has now learned the correct force.
For Older Models (With Screws)
These models use a flathead screwdriver to make small turns on the adjustment screws, which act as the garage door limit switch adjustment.
Travel Limits:
- UP Limit: To make the door open higher, turn the UP limit screw clockwise. To make it stop lower, turn it counterclockwise.
- DOWN Limit: To make the door close lower, turn the DOWN limit screw counter-clockwise. To leave a larger gap, turn it clockwise.
Force Settings:
- Warning: Never increase the force to compensate for a sticking or unbalanced door. Always use the minimum force necessary for operation.
- If your door reverses when closing, slightly turn the DOWN force screw clockwise.
- If the door stops while opening, slightly turn the UP force screw clockwise.
Step 3: Mandatory Safety Tests
After any adjustment, you must test the opener's safety features. If it fails, the opener is not safe to use.
A. The 2x4 Safety Reversal Test
This test ensures the safety reversal system is working correctly. Place a 2x4 wood plank flat on the floor where the door closes, then press the remote. The door must reverse immediately when it touches the wood.
If it doesn't, reduce the down force setting (for screw models) or re-run the programming (for button models) and test again.
B. The Photo-Eye Sensor Test
This test checks the safety sensors. As the door is closing, wave an object like your foot through the sensor's invisible beam near the floor. The door MUST immediately stop and reverse. If it fails, check that the sensor lenses are clean and their indicator lights are solid (not blinking), which shows they are aligned.
When should you call a professional for Chamberlain opener repair?
Sometimes the issue is beyond a simple adjustment. Call a professional for professional garage door repair if you notice any of these signs:
- The door failed the balance test.
- You see a broken spring (a clear gap in the coil) or frayed, damaged cables.
- You heard a loud "bang" from your garage, which often signals a broken spring.
- The door looks crooked in the opening or has fallen off its tracks.
- The opener repeatedly fails the 2x4 safety test even after you've made adjustments.
Ensure a Safe and Smooth Operation for Your Chamberlain Opener
Properly adjusting your Chamberlain garage door opener is key to ensuring it operates safely and conveniently. By following these steps, you can often solve common problems yourself. However, if you're unsure about any step or your door still isn't working correctly, it's always best to call the pros. Contact Local Garage Door Pros for safe, expert service.
Frequently Asked Questions
How do I reset my Chamberlain garage door opener limits?
You can reset the limits by entering programming mode and setting new open/close positions, or by turning the adjustment screws on older models.
Why does my Chamberlain garage door keep reversing?
It usually happens when the down force setting is too sensitive or if the safety sensors are misaligned.
How do you adjust the sensitivity on a Chamberlain garage door opener?
Sensitivity is adjusted by setting the opener's force. On older models, turn the force screws; on modern units, it's learned automatically.
What do the arrows on a Chamberlain garage door opener mean?
The arrows on modern Chamberlain openers are used during programming to set the up and down travel limit, the exact points where you want the door to stop when it's fully open and fully closed.
What does the blinking light on my Chamberlain opener mean?
A blinking light on the motor unit is an error code that helps diagnose the opener's problems. The number of blinks corresponds to a specific issue. For example, one or two blinks often point to a wiring or safety sensor problem, while five blinks can mean an issue with the motor overheating or its RPM sensor. It's best to consult your owner's manual to find the exact meaning for your model.


